
If you’re constantly looking for news to help you monitor conversations about your business, your products, your people and competitors – then why not set up Google Alerts, and let all the information come to you?
Google Alerts is a free ‘content change detection and notification service’, offered by Google. Whenever there is a new source published on the web that meets your criteria, Google will let you know about it.
- Go to google.com/alerts
- Enter the search term you want the Google Alert to track – if you’re not sure what to track, start with your company name. You may also want to include keyword phrases related to your brand and your industry.
- Then select ‘show options’
- Choose the sources you want Google Alerts to find and share with you. You can choose from – blogs, news, web, video, books, discussions, finance or automatic (everything)
- Choose how often you would like to receive your Google Alerts. You can choose from – as it happens, at most once a day, at most once a week
- Choose how many results you want to get. You can receive ‘only the best results’ or ‘all results’ depending on your needs
- Choose where you would like the Google Alerts delivered. You can receive the alerts via email, or choose an RSS feed, such as Feedly.
- Click the ‘Create Alert’ button
Here’s a video demonstration:
RSS (Rich Site Summary or Really Simple Syndication)
RSS is a format for delivering regularly changing web content – there’s so much information to stay up-to-date with, it can feel overwhelming and unmanageable. Thankfully, many news-related sites, blog and other publishers syndicate their content as an RSS feed to anyone who wants it.
RSS feeds are a special kind of web page, that can be identified by an orange icon. When you find a webpage with an RSS icon/link you can simply click on it and add it to a reader. Here’s some tips from Zapier on how to find the RSS Feed URL for almost any site.
Setting up sources into a reader saves you save time by not needing to visit each site individually. You can also avoid signing up to endless email newsletters. The information automatically feeds into your reader so that you can go and view it at a time that works for you – not when an email notification interrupts your workflow.
To be able to receive and view RSS feeds, you need an RSS reader. I use Feedly. It’s great for Google Alerts, and so much more.
A free Feedly account will allow you to view up to 100 sources and organise them into 3 folders. Upgrading to a Pro (paid) account provides unlimited feeds and folders plus useful integrations with social media platforms and management tools such as Buffer, IFTTT and Zapier.
Here’s how to set it up…
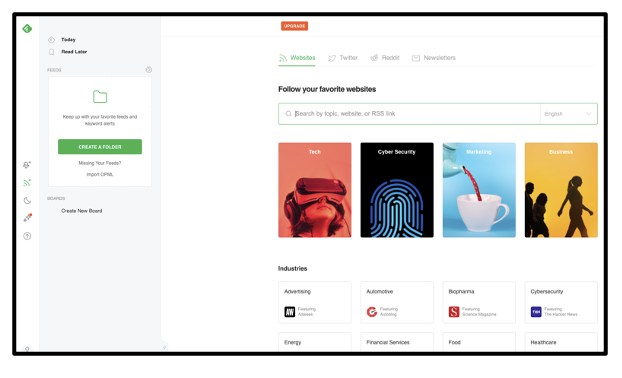
- Got to feedly.com and select ‘Get started for free’
- Add your details to create an account and follow the three set-up steps, shown below.

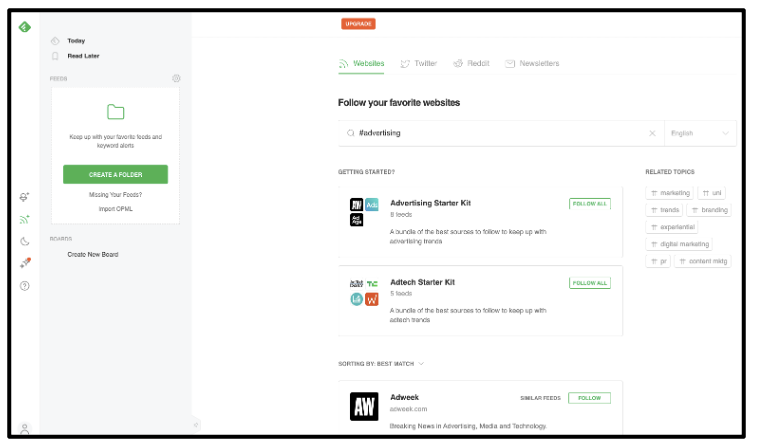
- You can now start adding content sources. Search by topic, website, RSS link, or select one of the categories recommended to you.
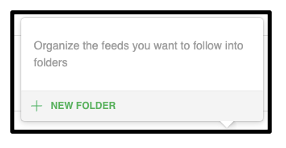
- For this example, I selected ‘Advertising’. The results include a number of recommendations. When you have found a source you wish to add to your RSS feed, simply select the ‘Follow’ button. You will then be asked if you want to use folders; these help to organise your feeds.
- You will see updates from the sources you have selected to follow, in folders, down the left-hand-side of your screen (desktop).
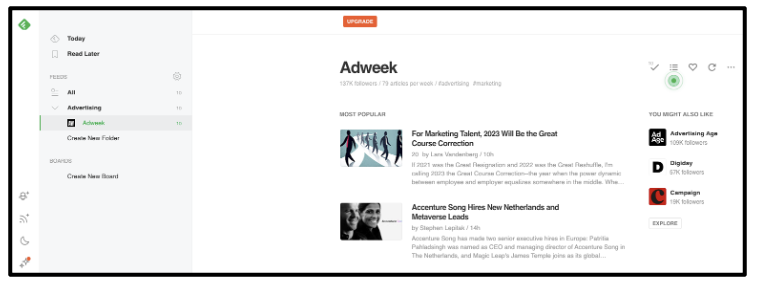
- To read an article, click on the headline. You can save it to read later on by using the ‘flag’ icon. If you are saving a number of articles, it can be helpful to use boards to organise them – the ‘star’ icon allows you save articles to a board. These icons will appear either when you hover your mouse over the article in the main feed, or at the top of the page when you are reading the article.
- Once you have read or saved an article you can remove it from the feed using the X on an individual article, or mark ‘all as read’ at the end of the page. You can also select the tick to ‘Mark as Unread’ if you wish to return to it later.